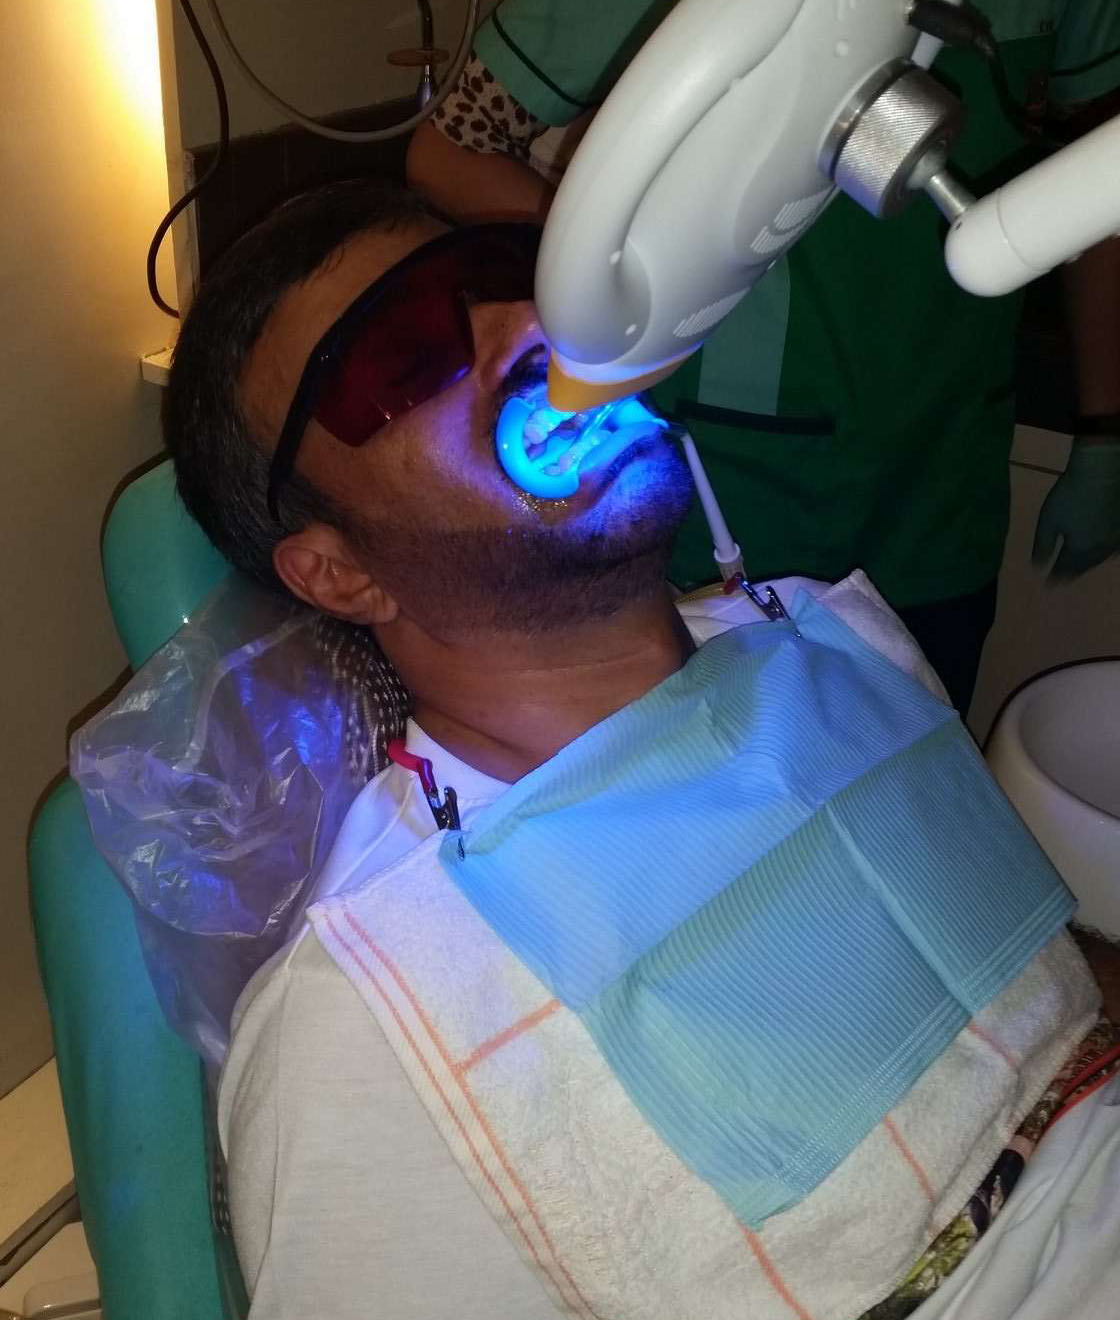
Teeth Whitening
Professional Dentist-Supervised Teeth Whitening System
Your trusted chairside Teeth Whitening procedure provider, Smile More Dental Clinic, combines years of dental cosmetics expertise with innovative and reliable techniques. Our dedicated team is ready to address any concerns during or after your teeth bleaching treatment. Opting for a proficient dentist is vital to prevent complications and ensure a successful outcome, guaranteeing long-lasting, beautiful results for effective dental bleaching.
Laser Teeth Whitening Steps (Dentist-Supervised) :
1.) Check-up and Briefing
We thoroughly evaluate at the initial stage whether Laser-activated tooth brightening would work for you. We examine your teeth condition, ensuring they are free of cavities and need teeth fillings or restorative care. This assessment aids in identifying whether you qualify for the procedure. Furthermore, we establish a baseline by recording your current tooth shade, allowing us to compare it with the outcome. This comprehensive evaluation is essential for a personalized teeth whitening plan tailored to your needs.
2.) Teeth Cleaning and Careful Evaluation
Before Laser Teeth Whitening, it’s vital to undergo professional dental cleaning. This step eliminates stains from beverages, food, or smoking. We polish your teeth with minty prophylaxis paste to remove surface stains and contaminants.
Following the cleaning, we assess your teeth for potential issues. Some may require desensitization or sealing sensitive areas with appropriate restoration before applying the whitening gel. Our goal is to ensure a smooth and fast teeth whitening process comfortably. With the correct technique, you’ll surely obtain favorable clinical teeth lightening or effective dental bleaching result.
3.) Gum Protection and Safety
During the In-office Whitening procedure, we will shield your gums with a gum barrier or gingival shield material (gum dam), a vital precaution to protect them from whitening agents meant for tooth enamel.
4.) Whitening Solution Application and the Intense Blue LED Light Accelerator
Our tried and tested teeth whitening solution effectively brightens your teeth with intense blue LED light, typically priced per 3 cycles for optimal results. Many patients prefer 2 or 3 cycles for a high-contrast outcome. In the first cycle, the solution initiates the dental-lightening effect; however, most patients opt for a 3-cycle procedure to achieve rapid teeth color improvement. Our approach, plus the use of precision teeth whitening products, ensures a brighter, whiter smile that leaves you feeling confident and satisfied.
5.) Final Touch-up & Repolishing
Once we remove the gum dam, which protects your gums during the teeth whitening cycles, we check for any potential irritation. Our team has a solution ready to soothe gum irritation if needed. Afterward, we perform a final polish to reveal the laser-activated tooth brightening results. We also provide a teeth whitening wand for you to use on your teeth over the next few days to ensure lasting teeth whiteness.
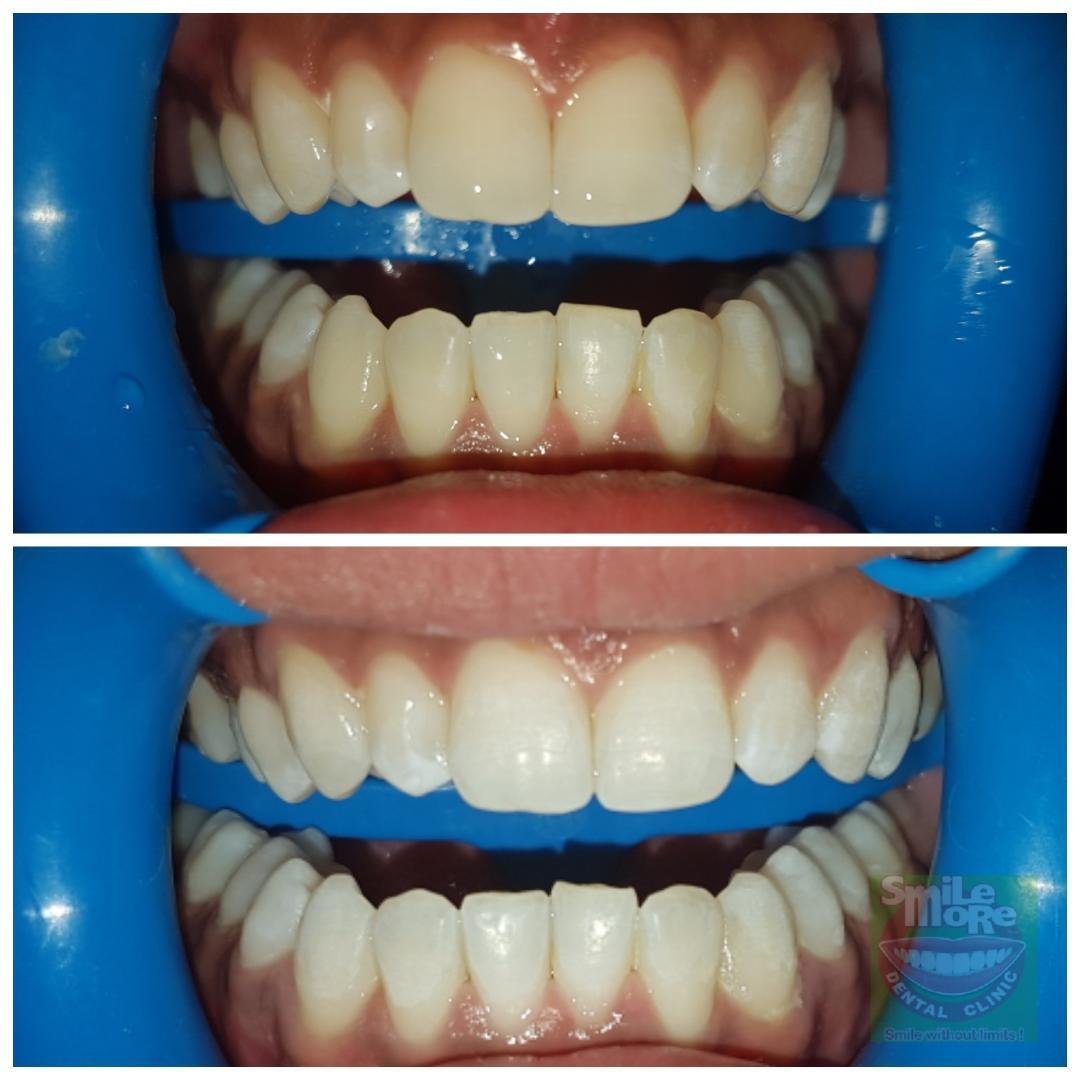
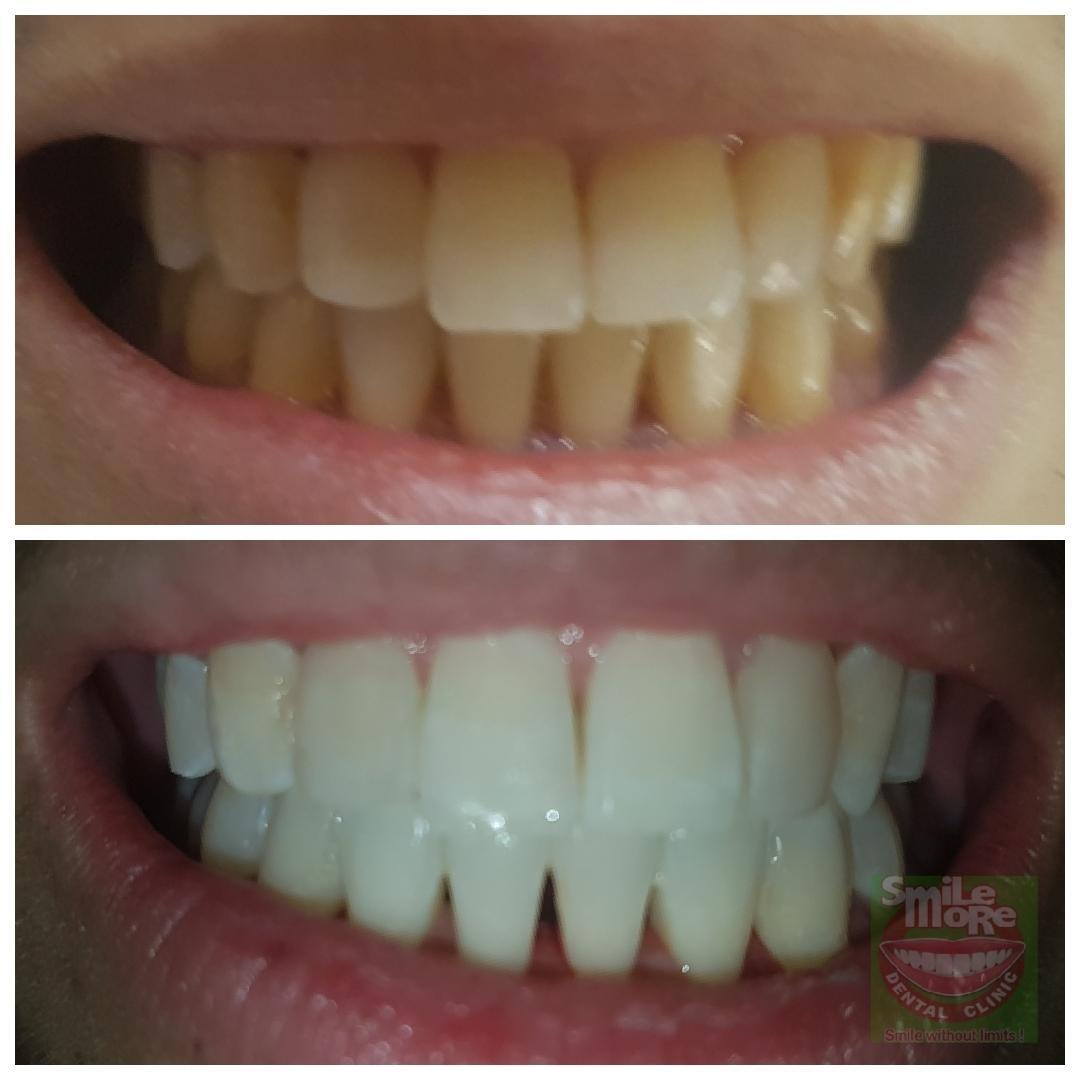
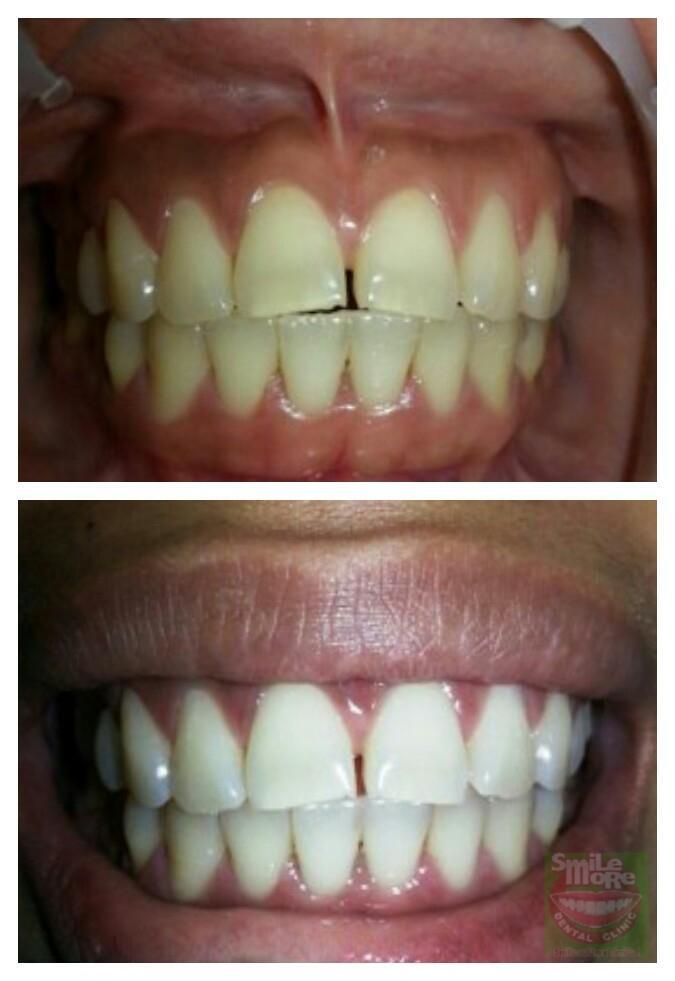
Look at the images to the left showcasing the teeth-whitening results we’ve accomplished with our patients. Please note that each situation varies, so expect different outcomes.
Take-Home Whitening
If the cost of Laser Teeth Whitening doesn’t fit your budget, consider our budget-friendly Take-Home Whitening option.
The steps outlined above are similar to Laser Teeth Whitening, but here, you’ll whiten your teeth in the comfort of your home.
We will create customized whitening trays by taking impressions of your upper and lower teeth. Our team designs these thin, clear plastic trays to fit snugly over your teeth.
You need to load the plastic trays with the whitening solution and wear them daily for about 30 minutes over two weeks. You can use them consecutively or every other day whenever you can.
We recommend applying this treatment at night, post-dinner, and following your regular oral care routine for optimal results.
After each gel application, remember to rinse or brush your teeth and store the bleaching trays properly.
At Smile More Dental Clinic, our dentists offer a range of dental solutions, including effective, safe, and affordable teeth whitening treatments. We are dedicated to serving residents of Manila, Pasay, Makati, Quezon City, Caloocan City, Pasig, Taguig, and neighboring areas. Contact us today to schedule an appointment and discover how our Teeth Whitening System can enhance your smile. Achieve a brighter and more confident smile while considering the competitive teeth whitening cost in the Philippines.
